How to make a timeline using TimelineJS?
TimelineJS is a tool that allows you to build an interactive timeline. It is another tool to visualize data with time and DH-related projects with a chronology. The most simple way to use TimelineJS to create a timeline is modifying a Google spreadsheet template. The spreadsheet should include some components such as year, month, day, and time.
TimelineJS is a useful tool for my group project, Networking the Arts, to visualize Carleton arts events over time. We had gather a spreadsheet of the arts events from the Carleton Arts Calendar. The events are mainly in January and February with several events spanning from January to April. Then, I modified the template to include specific data entries.
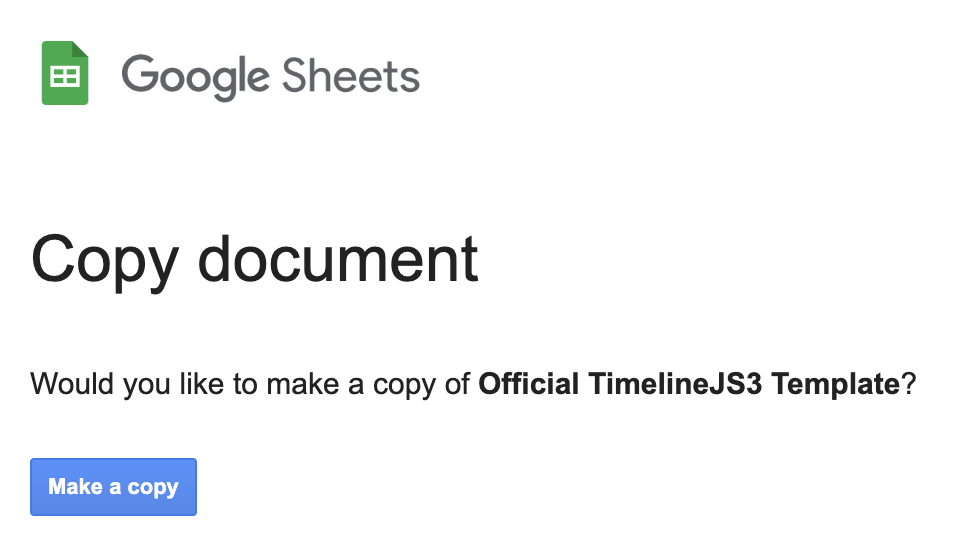
1) Make a copy of the template
You can search TimelineJS on the web or follow this path for the website –> template
When using the template, you should not remove any column headers and not leave any blank rows.


2) Edit dates, time, headline, text, etc.
This is what you will initially see in the template.

You can modify it according to your data.

3) Publish the spreadsheet to the web
On the spreadsheet, you can go to File –> Share –> Publish to web.
After you click Publish, you need to use the link on the search engine (browser bar).


4) Insert the spreadsheet URL and preview the timeline
If you have cleaned up your data and published you spreadsheet, you can insert your link here.


Preview

This is a resulting timeline of Networking the Arts project using TimelineJS. It is not as appealing as the sample timeline because the arts events are shorter and more frequent. However, you can learn more on how to change the appearance of your timeline. TimelineJS has its walkthrough video tutorial if you need a more detailed explanation. You can also check out TimelineJS documentation.
I love your tutorials! It’s very detailed and practical, and your instructions for each step make this tutorial easy to follow. Coincidentally, I will be responsible for using timelineJs to create a timeline in our team’s final project. This tutorial is very timely and I will be using it to learn how to use timelineJs.